Flipper Zero 宇宙最強攻略:30 天帶你從入門到入坑 Day23 - 登峰造極:Flipper Zero 從業餘玩家到開發人員的成長之路

Development

圖片來源:https://docs.flipper.net/development/cli
前言
嗨,這裡是 Kazma。
在昨天的最後有介紹到 Flipper 有許多社群開發的韌體和應用程式,所以今天要來跟大家介紹關於 Flipper 開發方面的官方文件。
資安倫理宣導
請注意,透過 Flipper Zero 學習的資訊技術與知識,目的在於提升個人的技術能力和資安意識。我們強烈呼籲大家,絕對不要使用所學知識從事任何違法行為。您的合法使用是我們的期望,也是您自身責任的一部分。
開發說明
首先 Flipper 的官方文件關於開發分成四個部分,分別是:
- Firmware
- Hardware
- Blueprints
- Command-line interface
我們就依序來介紹這四個部分吧。
Firmware
Flipper Zero Firmware Developer Documentation:
https://developer.flipper.net/flipperzero/doxygen/
這份是專門給想要參與開發的開發人員文件,主要分成幾個部分:
- Application Programming - Writing applications for Flipper Zero
- System Programming - Understanding the firmware’s internals
- File Formats - Saving and loading data to and from files
- Developer Tools - Hardware and software tools for all kinds of programming
- Expansion Modules - Additional modules to expand Flipper’s consciousness
- Miscellaneous - Various useful pieces of information
- JavaScript - JS-based scripting engine documentation
還有一些自動產生的介紹:
- Data Structures - Every data structure in a list
- Files - Source file tree with easy navigation
有時間的話,希望能在最後幾天寫一個簡單的 app。
Hardware
主要分成以下幾個部分:
- Wi-Fi Developer Board - First start, debugging, and schematics
- Flipper Zero tech specs - Technical specifications for Flipper Zero hardware
- Flipper Zero schematics and PCBs - Downloadable schematics and PCB drawings
- ST-Link V3 Developer Board - Schematics and specifications
- External modules - 3D models and drawings for external module development
Blueprints
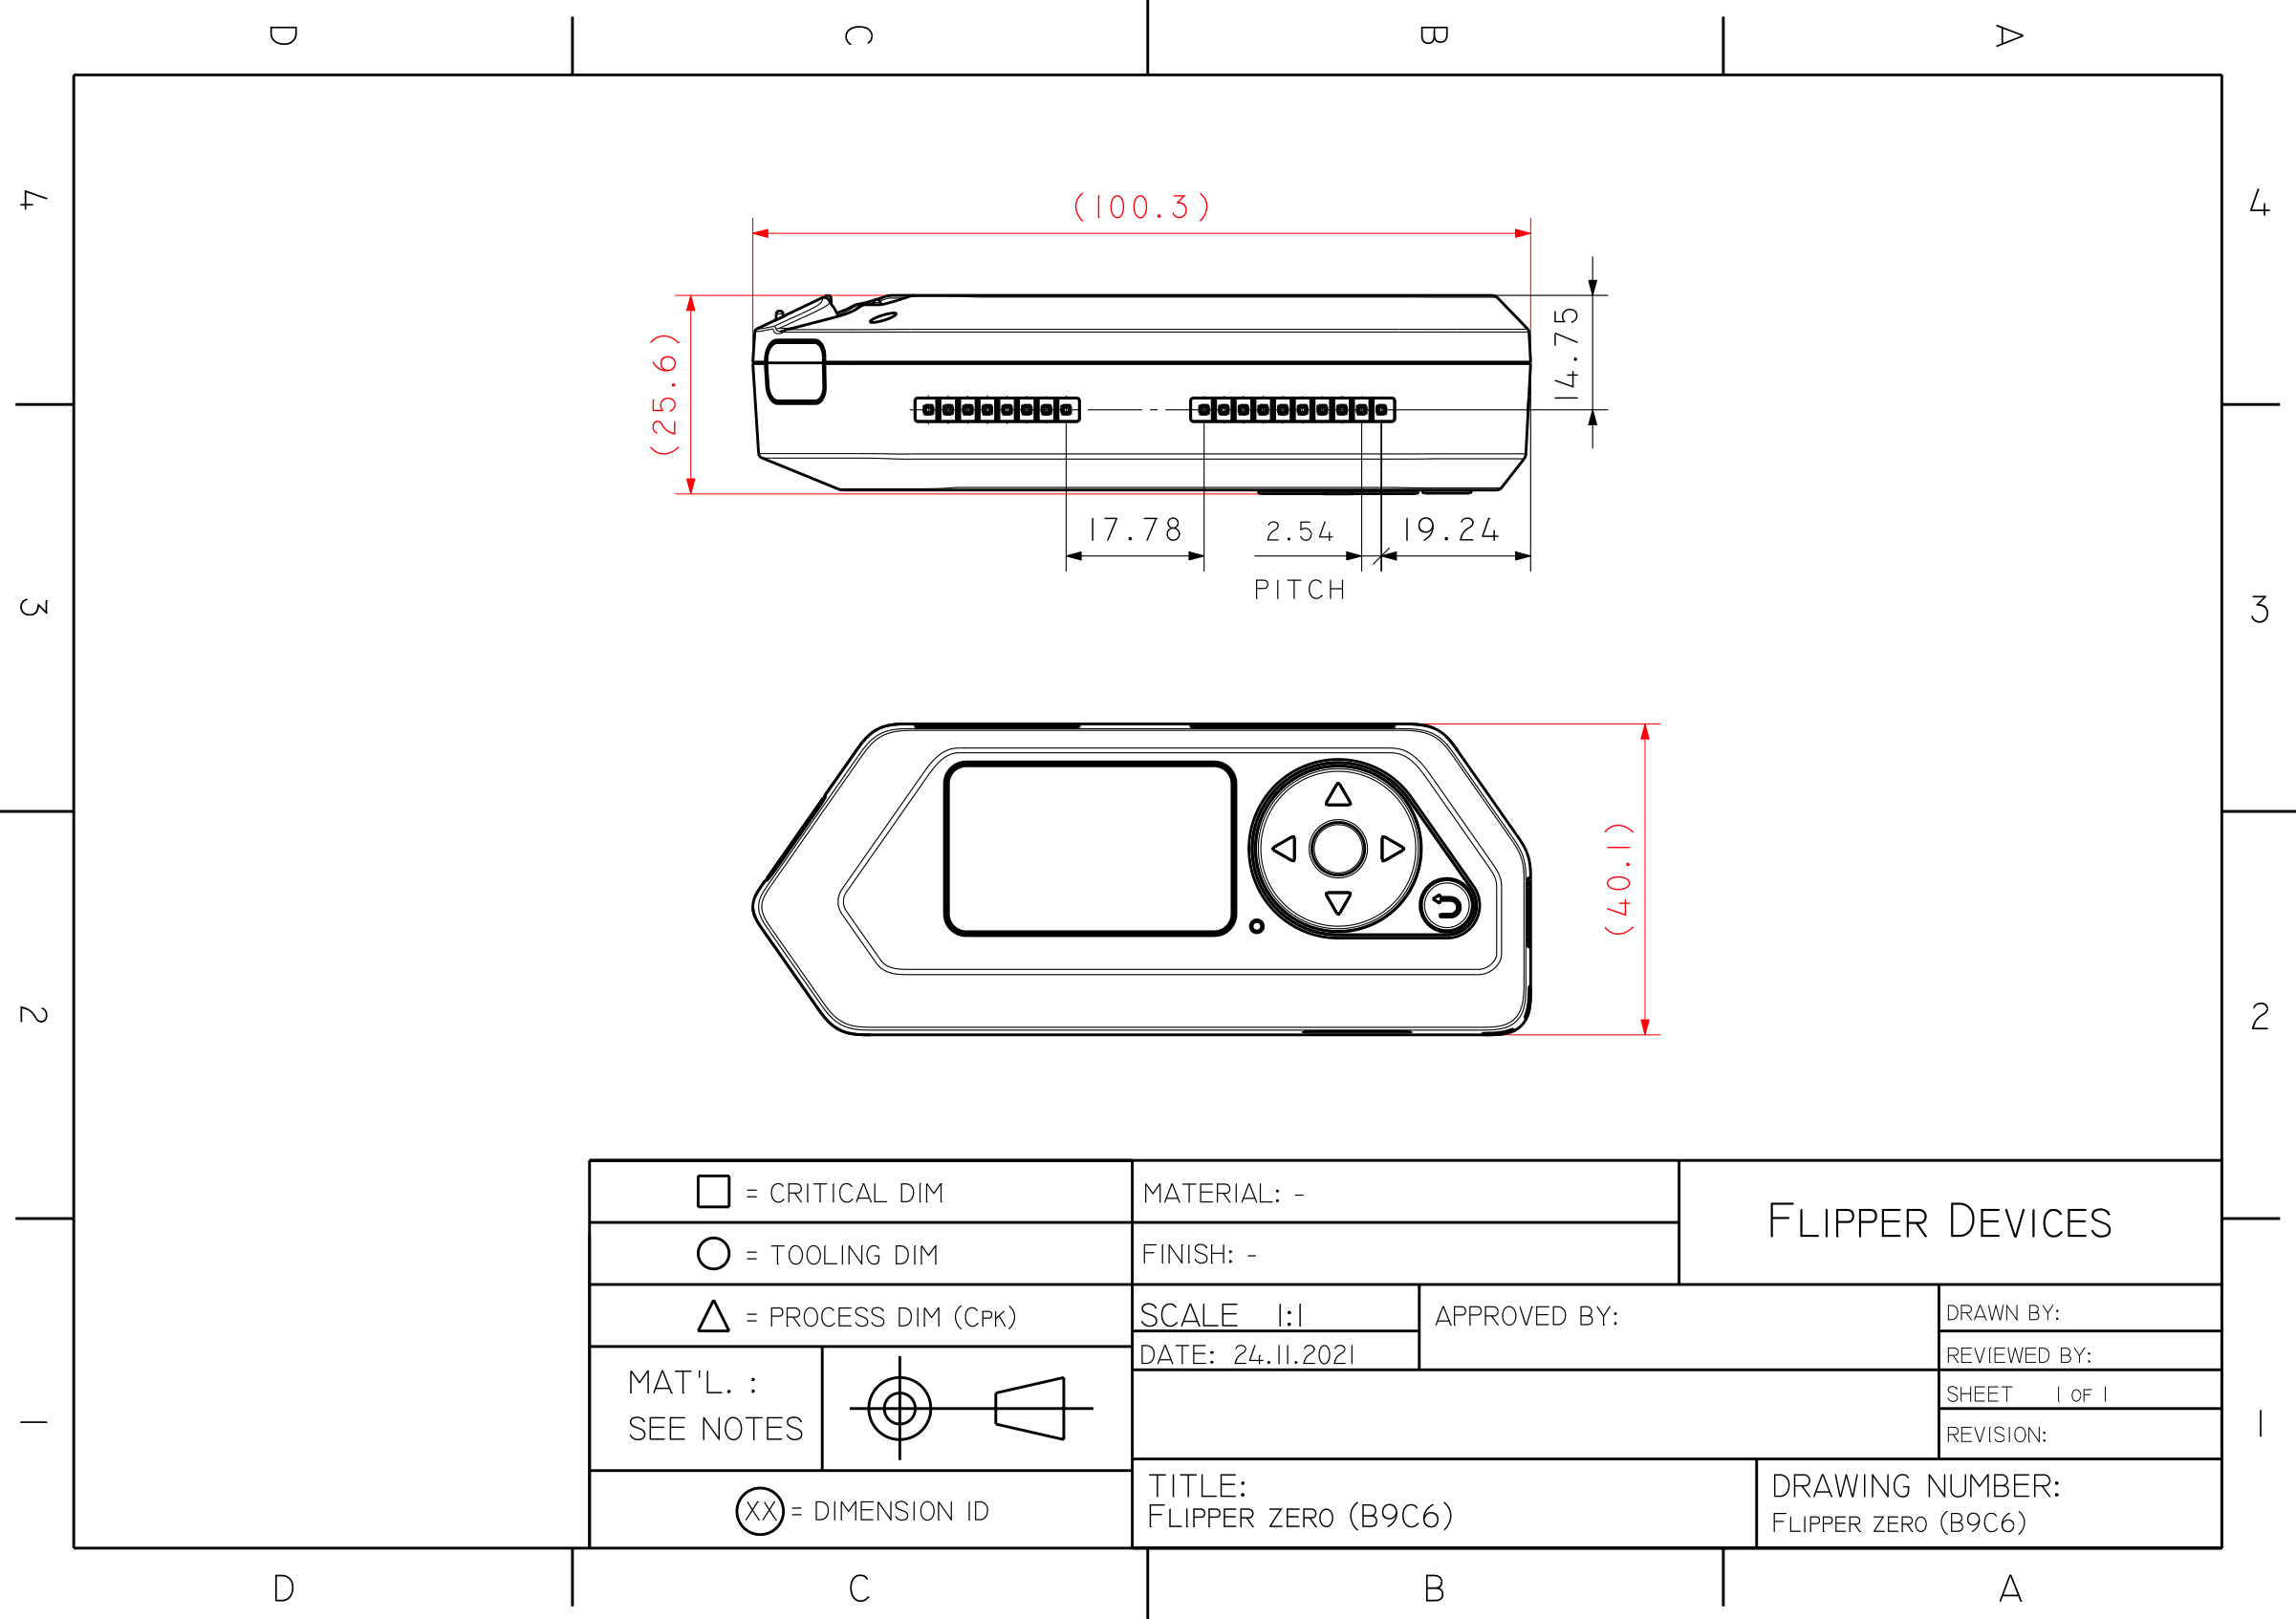
這部分包含 Flipper 的一些設計圖:
圖片來源:https://docs.flipper.net/development/blueprints/flipper-zero
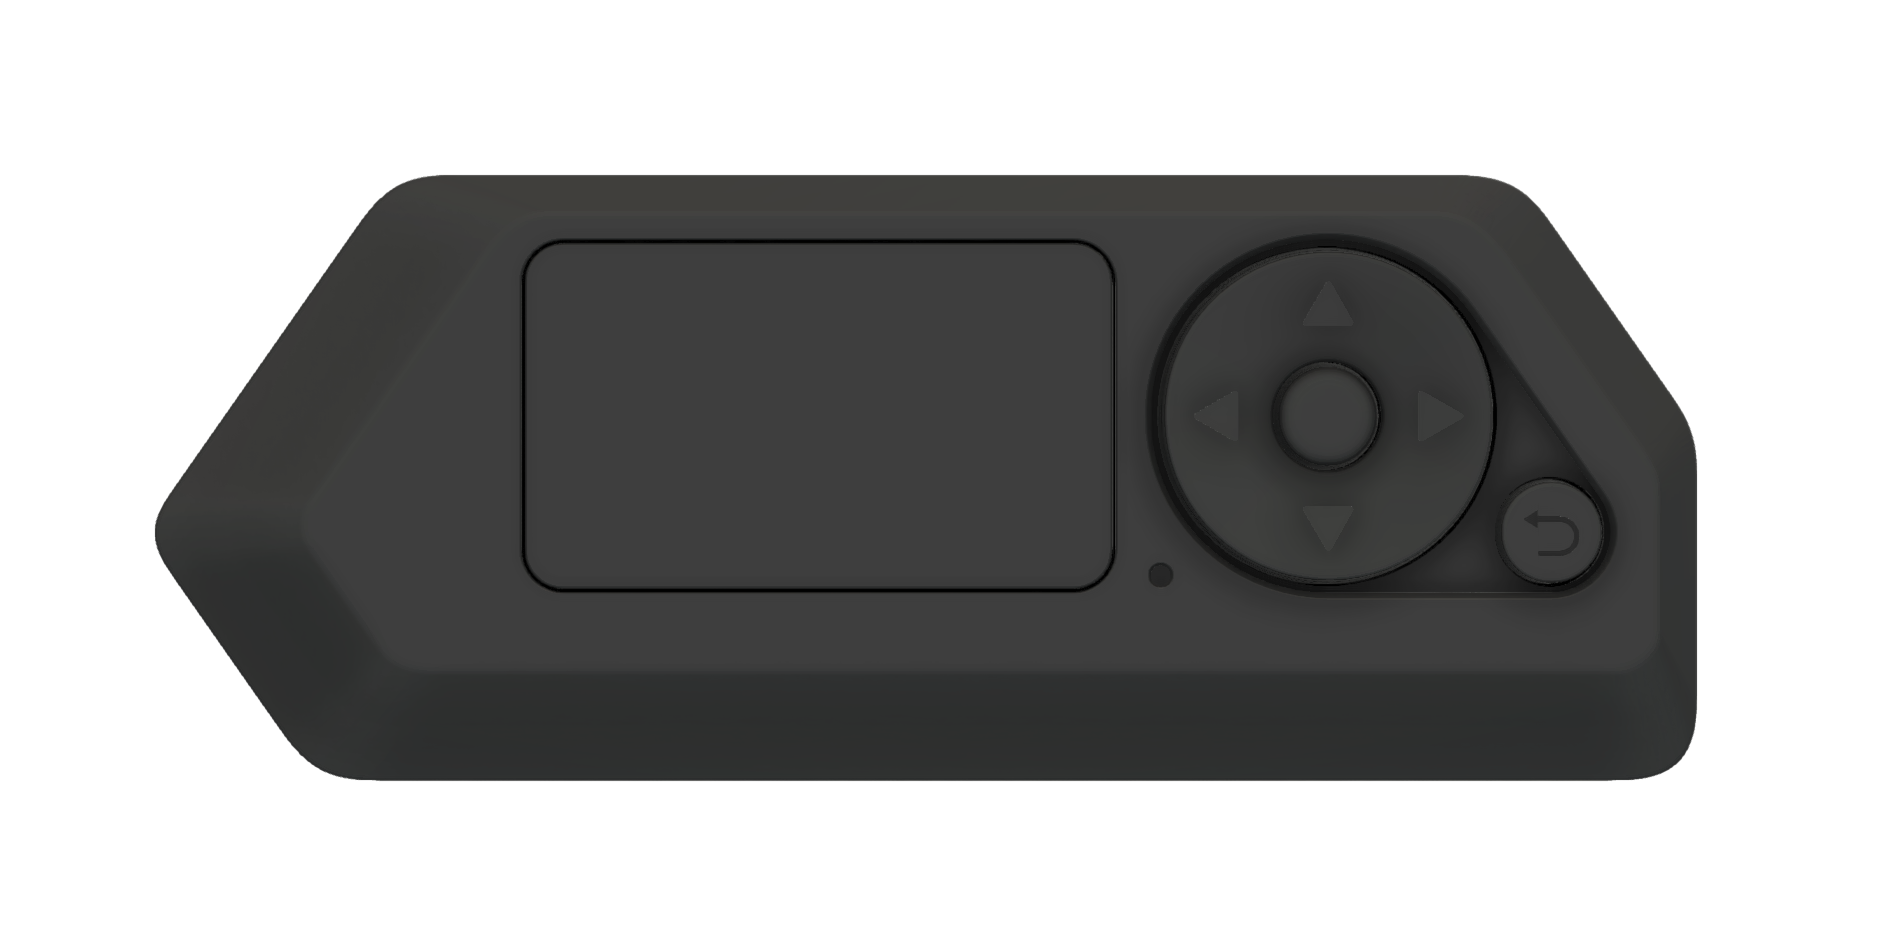
以及一些 3D 模型:
圖片來源:https://docs.flipper.net/development/blueprints/flipper-zero
Command-line interface

圖片來源:https://docs.flipper.net/development/cli
我們可以透過 CLI 控制,可以做到很多被 GUI 限制的功能,我們就來介紹一下這塊:
Accessing the Flipper Zero CLI
主要有三種方式,我們依序介紹:
Method 1: Using Flipper Lab
在 https://lab.flipper.net/ 用 USB-C 連上電腦後可以使用 CLI 功能:
圖片來源:https://docs.flipper.net/development/cli
Method 2: Using the web serial terminal
一樣先接電腦,然後到 https://googlechromelabs.github.io/serial-terminal/ 設定 Baud rate 為 230400 然後點選 Connect
圖片來源:https://docs.flipper.net/development/cli
Method 3: Using a serial terminal
根據不同作業系統有不同方式,這邊拿 mac 舉例,順便附一下這部分的官網教學:
https://docs.flipper.net/development/cli#rnDLl
- 首先打開我 mac 常用的 terminal iTerm2
- 執行
ls /dev/cu.* - 然後找
/dev/cu.usbmodemflip_NAMENAME 是我們 flipper 的名字 - 執行
screen /dev/cu.usbmodemflip_NAME就可以進去了 - 離開的話 control-a(prefix) 然後 k(kill) 最後選 y(yes)
Available commands
進去之後我們可以透過輸入 ? 或是 help 來顯示可以執行的指令
詳細指令大家可以參考官網。
Reading Flipper Zero logs via the CLI
我們可以透過 CLI 來看 logs,透過輸入 log ? 來看更多相關指令:
1 | >: log ? |

圖片來源:https://docs.flipper.net/development/cli#rnDLl
Chatting with other Flipper Zero users
一樣先接線之後進到 CLI。
執行 subghz chat <frequency in Hz> <device:0/1>
例如 subghz chat 868150000 0
然後輸入訊息之後 return :
圖片來源:https://docs.flipper.net/development/cli#rnDLl
就可以跟附近同一個頻率的人對話了。
按讚訂閱收藏小鈴噹叮叮叮
OK 今天跟各位講了開發人員可以如何去貢獻到 Flipper 社群,也快速帶過了 Flipper CLI 的功能,希望最後有時間可以寫一個簡單的 app,那今天大概就到這邊,各位明天見了!
- Title: Flipper Zero 宇宙最強攻略:30 天帶你從入門到入坑 Day23 - 登峰造極:Flipper Zero 從業餘玩家到開發人員的成長之路
- Author: kazma
- Created at : 2024-10-07 17:11:01
- Updated at : 2025-08-20 13:53:24
- Link: https://kazma.tw/2024/10/07/Flipper-Zero-宇宙最強攻略:30-天帶你從入門到入坑-Day23/
- License: This work is licensed under CC BY-NC-SA 4.0.